Expose your apps using Cloudflare tunnels
Cloudflare Tunnels allow you to expose your local web server to the internet without having to configure any firewall rules or DNS records. Additionally, your IP address will be hidden behind Cloudflare’s network as requests will be proxied through Cloudflare’s edge network.
Cloudflare tunnels are available for free for all Cloudflare users.
Pre-requisites
- A Cloudflare account sign up here
- A domain name
- A Runtipi instance running on your local network
Use case
You want to expose to the internet the searxng instance running on your runtipi.
Configuration
Add your domain to Cloudflare
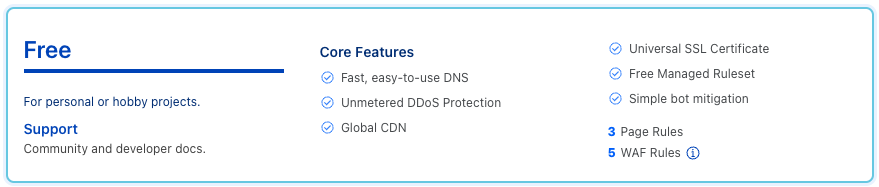
In the Cloudflare dashboard, go to the Website tab and click on the Add site button. Enter your domain name and click on Add site. Scroll down a little bit and choose the Free plan option.
Click on Continue and then on Continue again.
Add Cloudflare’s nameservers to your domain
Copy the nameservers presented in the Cloudflare dashboard and add them to your domain’s DNS settings. Depending on your domain registrar, you may need to add them as NS records or Name Server records.
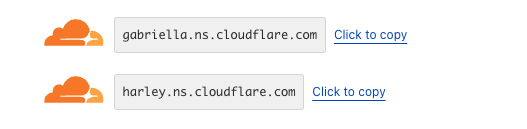
This step may take a few minutes to propagate.
Create a tunnel
In the Cloudflare dashboard, go to the Zero Trust tab and click on Networks -> Tunnels.
Click on the Create a tunnel button.
Give your tunnel a name and click on Save tunnel.
Run the connector on your server
Click on Docker and copy the command presented in the dashboard. SSH into your Runtipi server and run the command copied from the Cloudflare dashboard.
You can add the -d flag to run it in the background. docker run -d ...
You should now see the tunnel running in the dashboard.
Alternatively you can use the Cloudflare Tunnels app in the app store. Just install it, open the dashboard and copy paste the cloudflared
command that Cloudflare gave you (make sure to remove the sudo command).
This guide exposes apps through Cloudflare Tunnel. If you also expose the
Runtipi dashboard through a tunnel and see Invalid request origin, see
Dashboard behind a reverse proxy or tunnel.
Add a Public hostname to your tunnel
Select your newly created tunnel, configure and click on the Public hostname tab.
Click on Add a public hostname
Fill out the form by entering the subdomain you want (e.g. searxng) and select your domain name from the dropdown. In the service section, choose the type HTTPS and in URL enter the IP address of your Runtipi server.
In the additional settings section, choose the No TLS Verfiy option.

Click on Save hostname.
Expose your app on runtipi
Open your Runtipi dashboard and search for the app you want to expose. Make sure the app is stopped and click on the settings button.
Enable the Expose app option and enter the subdomain you chose earlier.
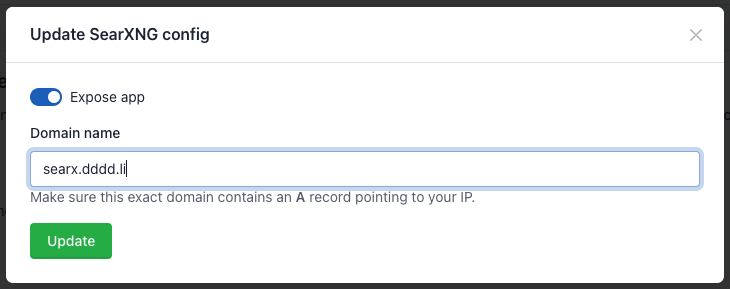
Click on Save and then start the app again.
Access your app
You can now access your app securely by visiting https://<subdomain>.<domain>.